Why deep-pour epoxy cracks or yellows
A river table pour that cracks, yellows or turns wavy usually comes down to one thing: heat. Epoxy cures through an exothermic reaction, and a big mass of resin can build heat faster than it can shed it. Here’s what manufacturers’ data sheets say, and how builders keep pours under control.
- Curing epoxy makes its own heat; TotalBoat warns a mass of epoxy can reach 200-300°F if poured thicker than advised.
- The reaction speeds up as it warms: EcoPoxy’s rule of thumb is that the reaction rate doubles for every 10°C (18°F) rise.
- Respect the per-layer depth limit, keep the room near 70°F, and let each layer cool before the next.
What the data sheets say
The TotalBoat Fathom Deep Pour Epoxy instruction sheet and TDS is a good example of the limits for one popular deep-pour resin:
- Up to 2 in. per layer for river tables and slab pours (3 in. only for small castings up to 1 gallon).
- “Not respecting pour limits or using high temperatures may lead to yellowing or cracking.”
- Ideal working temperature 60-80°F, with 70°F optimal for thicker pours.
- Delayed exothermic heat 6-20 hours after mixing. If internal temperatures approach 100°F, use cooling or lower the room temperature.
- Wait until the previous layer has cooled below 85°F and is firm, typically at least 36 hours, before the next layer. Check with an infrared thermometer.
Depth limits differ a lot between products, so always follow your own resin’s sheet.
Why it runs away
According to EcoPoxy/Eco-nomic Resins: curing with and without Pro Accelerator, the speed of reaction and rate of heat generation roughly doubles for every 10°C (18°F) rise. A pour that’s fine starting at 72°F may get far too hot starting at 80°F. The extra heat speeds the reaction further, which makes more heat.
Your mold matters
The same EcoPoxy page points out that white melamine-coated MDF, the most common mold material, insulates the resin and traps heat, especially when the mold sits on a wooden bench. It says HDPE (polyethylene) molds conduct heat about five times better than MDF particleboard, and do even better on a metal or stone surface. If you use MDF, it suggests testing a small casting first or pouring about an inch at a time, waiting until each layer has gelled and cooled.
A practical checklist
- Read the per-layer maximum depth for your exact resin, and stay under it.
- Keep resin, wood and room near the recommended temperature (often about 70°F). Don’t pour in a hot garage.
- Seal the wood first so bubbles don’t rise into the pour (see seal coating wood before epoxy).
- Mix fully and to the exact ratio (see how to mix epoxy resin).
- Check temperature during the cure; step-pour when the total depth is more than one layer allows.
- Build the mold for heat loss (see river table mold build).
Related: preventing epoxy bubbles, why epoxy yellows and curing in cold weather.
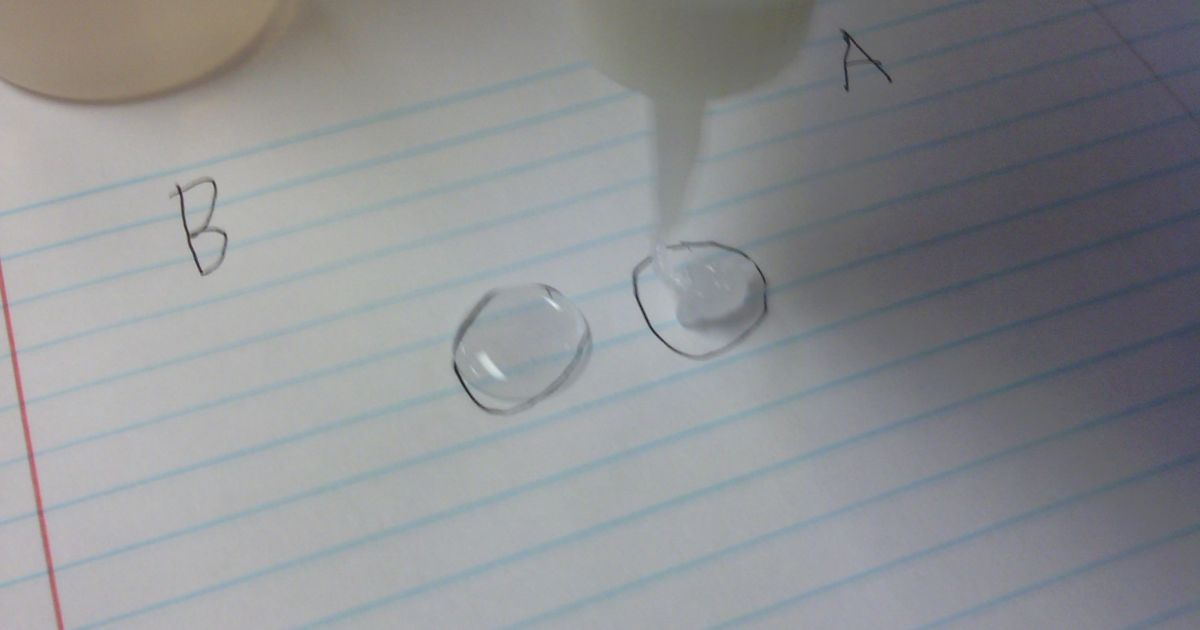
Header image: Photo: “Pour Epoxy” by Ehaynes7928, CC BY-SA 3.0 (cropped).